n

Showing posts with label nail art. Show all posts

Saturday, March 26

Nail Art: Burberry


 Nail art tutorial featured here is my version of the Burberry like plaid print. There are lots of nail art tutorial like this over the youtube.

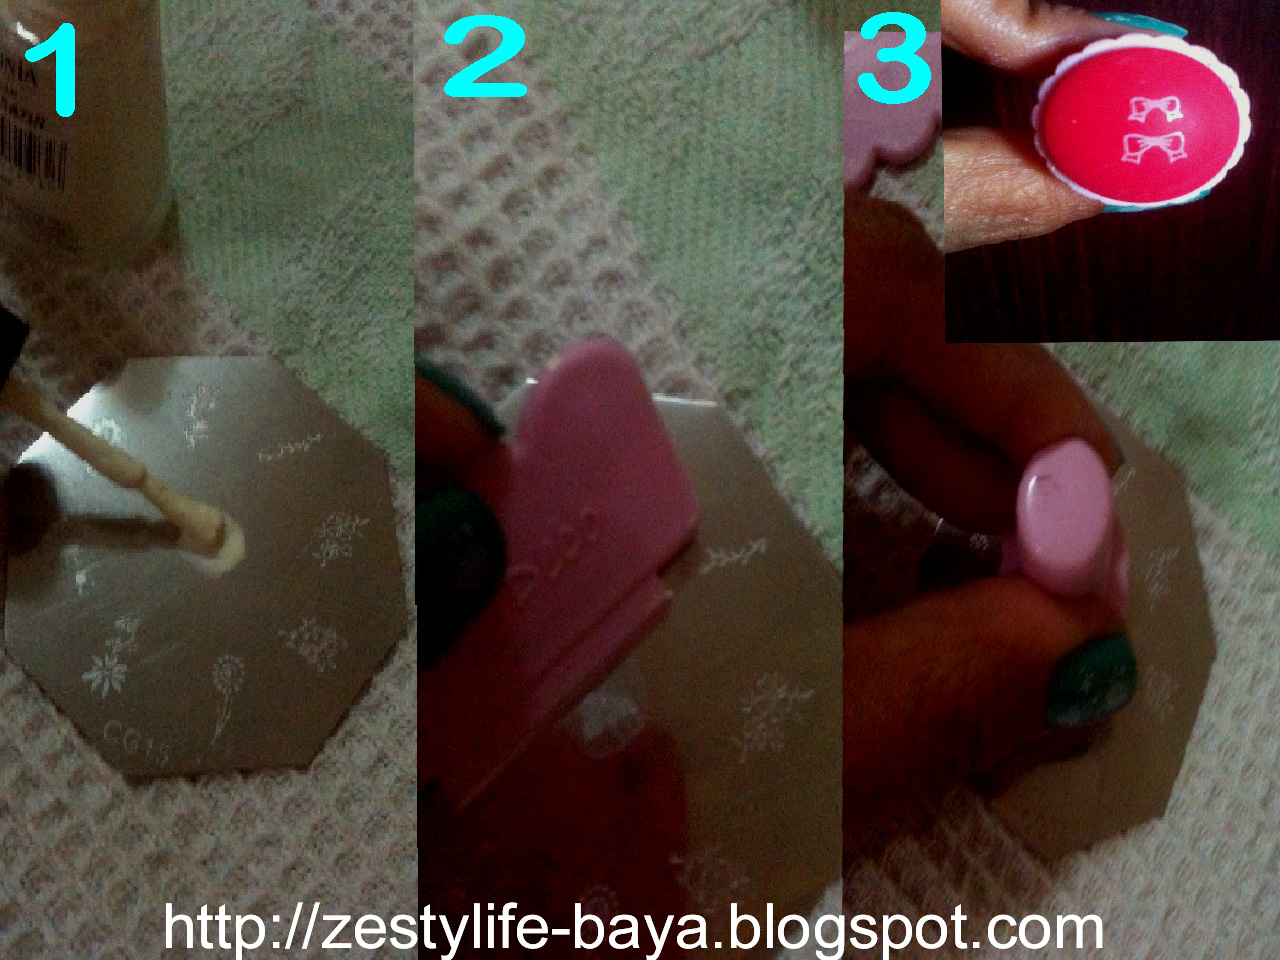
Nail polishes I used are:

a. basecoat from Elianto
b.ORLY in Country Ckub Khaki for my base color
c. topcoat with gold glitters
d. clear coat from Elianto
e. Sassy Nail Art polish with fine brush
    (photo showed below)


Sassy Nail Art polish with fine brushes in
red, white and black
(can be bought at Watson's for 24 pesos)


Apply base coat then let it dry for a sec. then followed
by the basecolor (ORLY- Country Club Khaki)
Let it dry before proceeding to the next steps.

Apply the white nail polish with fine brush horizontally.


Apply another white nail polish horizontally, make sure to
leave a small space in between.


Apply a black nail polish horizontally in between the 2 white lines.

Apply another horizontal lines using black nail polish
above and below each white lines as shown above.


Apply white nail polish this time in vertical lines. Leave a small space
in between the 2 lines as shown above.
(this photo is edited thru photosop as I accidentally erased
the pic I took for this step)


Apply black nail polish vertically in between the white lines you did earlier
then apply another 2 lines to the left and right of the white vertical lines.


Lastly, apply another horizontal line with nail red polish as shown above.
Let it dry completely then apply the glittered nail polish and apply the
clear topcoat polish.


Hope you like this design, very classy and neat. I did this nail art on my own though I have a hard time doin this to my right hand since I am a right handed person. You can do this also! Just practice, practice and practice. Enjoy the weekend and till next time. =)

http://i68.photobucket.com/albums/i10/bayasy/qoutebora2-1.jpg

Saturday, March 12

Nail Art DIY 2: Nail Art Sticker


This is my second nail art tutorial which is a very hassle free and super cheap too. You may be wondering why I have some photos here with the PREVIEW MAGAZINE (vol. 16 no.2) of March 2011 issue. Well... I got my inspiration from this issue. =) This magazine captured my attention because of the vibrant color of the cover and Georgina Wilson and Borgy Manotoc are so hot! hot! hot! They are both the Bench Body's newest endorser.
I love the dramatic and slick look of Georgina and Borgy here... Of course going back to our topic for today, the leopard print design of Georgina's nails are so awesomely wild!

photo taken from Preview Magazine
March 2011 issue p.166

p. 164 of Preview Magazine
March 2011

... then I remembered I have a nail art haul bought months ago and I have a similar leopard nail art sticker design with Georgina's nails. So I decided to give it a try on my nails.


Here's How To Do It Yourself:

*Materials needed:
-nail art sticker just like the photo above
-tweezer
-clear nail polish
-nail file

(Make sure that you already had your manicure done)

1. Cut the nail art stickers according to its shape.
2. Trace the cut out stickers on your nail so you would know
     what length of it you will need.

3. Lightly moisten the back of the sticker so it would separate easily.
4.Pick it up with a tweezer and put it on the nail.
   The round end has to be at the cuticle.

5. Trim again just close enugh to the edge of your nail.
6. Make sure that it is fit on the shape of your nails and
    smoothen it out that no air bubbles inside left.
7. You can now apply the sheer nail polish.
     Don't worry about the excess edges because
     it will melt upon applying the clear top coat polish.
8. Smoothen the edges with the nail file and let it dry.


Here's my version of the "leopard nail art design"
similar to Georgina's digi-stamped nail art.

TIPS:
to prolong this kind of nail art just apply a clear nail polish after 2 days.
Hope you'll try it too! There's a lot of fabulous designs and it's easy to do. Have a nice night! (Enjoying my Preview Magazine over a cup of hot tea latte and with a bossa nova music playing in my background) 


Thursday, February 24

Nail Art: My DIY Nail Stamping

 I can almost smell summer and I love love summer! If you'd let me choose where to go on a vacation I would rather choose to go to a beach destination. It is where I can feel very close to nature and can feel peaceful atmosphere the most.

Anyway, since summer is near I saw this nail polish at PCX yesterday and immediately called my attention! Its called Green With Envy from ORLY. I think the color is so refreshing! and suited for summer. You guys can't see clearly the color in the photos that I have taken (sorry! I'm just using my iphone) but it's like the color green of the tail of the famous mermaid "Ariel" from "The Little Mermaid".


 Things needed are basecoat, nail polish of your choice, topcoat and nail stamp kit. First and foremost have your manicure and pedicure for a neat and nice canvass. ;) Apply first your basecoat, as for me I prefer to use a nail strengthener since my nails breaks easily. Let it dry for a while then followed by applying the color base for 2-3 coats and let it dry completely (this is very important because if you don't you'll ruin your base). If you think that it's completely dry already, take out your nail stamp kit.


1. Choose a nail polish color for your stamping. I choosed a white one for this one. On the design disc, apply nail polish.
2. Immediately scrape off the extra polish with the tool provided.
3. Press the stamp onto the design you desired on the disc.

4. Press the stamp onto your own nails.
5. Apply the top coat directly onto the design if you are done.
*Optional: you can add some other designs to it also. Have fun with it!

Ain't it fun to be a gurl! *wink wink. They also offer this in some salons but its pricey so if you have time and wanna be creative do it yourself! It'd be fun and nice bonding time with "girlfriends" too!

It'll be TGIF tomorrow, I hope my "H" will ask me for a dinner or moviedate tomorrow! (so I can have a chance to show-off my newly glam nails!).